If you’ve just finished your first diamond painting, you may be wondering how to seal paint with diamonds. After placing thousands of tiny gems, you’ll want to make sure your masterpiece stays secure and sparkling for years.
Many beginners ask, What do you use to seal diamond painting? or even Does Mod Podge seal diamond painting? These questions are common because sealing is a simple but important step. Without it, diamonds can loosen over time, dust may collect, and your hard work may lose its shine.
In this guide, you’ll learn everything about sealing diamond paintings. From why it matters, to the best steps to follow, and even tips for protecting your artwork while you’re still working on it.
What Does It Mean to Seal Paint With Diamonds?
Diamond painting is a mix between cross-stitch and paint-by-numbers. Instead of paint, you place small resin “diamonds” onto a sticky canvas. Once finished, the artwork shines like a mosaic.
But here’s the challenge: those diamonds are stuck only with a thin adhesive layer. Over time, exposure to air, dust, or even handling can weaken the grip. That’s why people learn how to seal paint with diamonds.
Sealing means applying a clear layer over the diamonds. This locks them in place, protects the canvas, and helps your project last for years.
Why Is Sealing Important?
Before we get into steps, let’s talk about why sealing matters.
- Keeps diamonds secure: Even with strong adhesive, some drills may pop off over time. A sealant prevents this.
- Protects against dust and dirt: Open canvases can collect tiny particles that dull the shine.
- Adds durability: If you frame or move your diamond painting, the sealant ensures diamonds stay put.
- Preserves shine: The right sealing method keeps that sparkle you worked so hard to create.
Some people ask, Can you use hairspray to seal diamond painting? While hairspray may provide a temporary hold, it’s not designed for long-lasting protection. A proper sealant works better and is much safer for your artwork.
Step-by-Step Guide: How to Seal Paint With Diamonds
Now let’s go through the process of sealing your diamond painting.
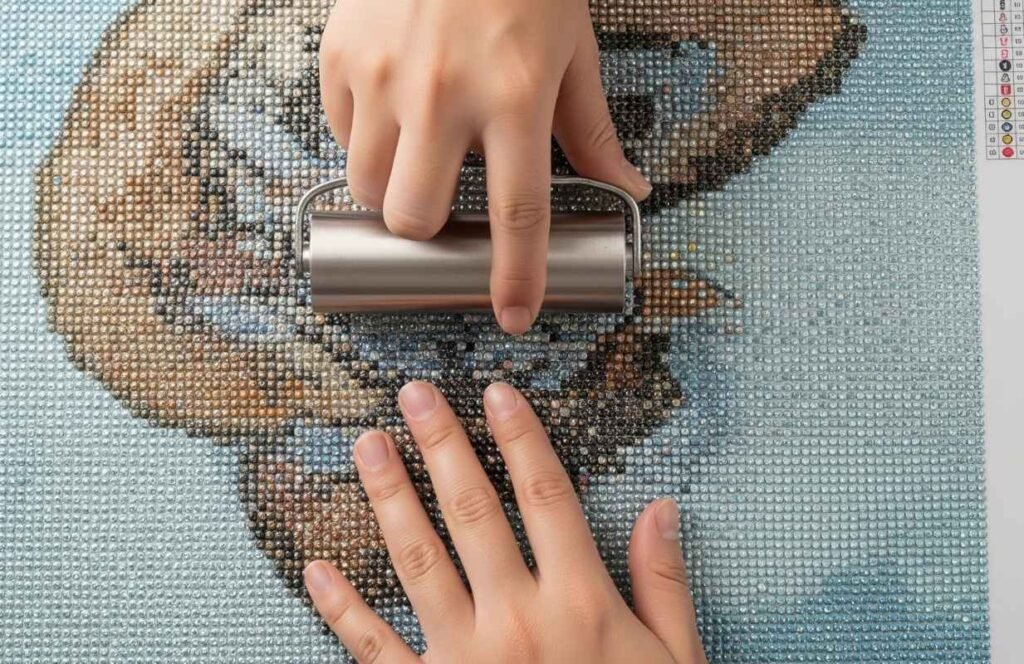
Step 1: Prepare Your Painting
Before sealing, make sure every diamond is firmly in place. Use a small roller or even a clean rolling pin to flatten the canvas. Place a thin cloth over the surface so you don’t scratch the gems.
This step ensures the diamonds are pressed tightly into the adhesive and reduces gaps.
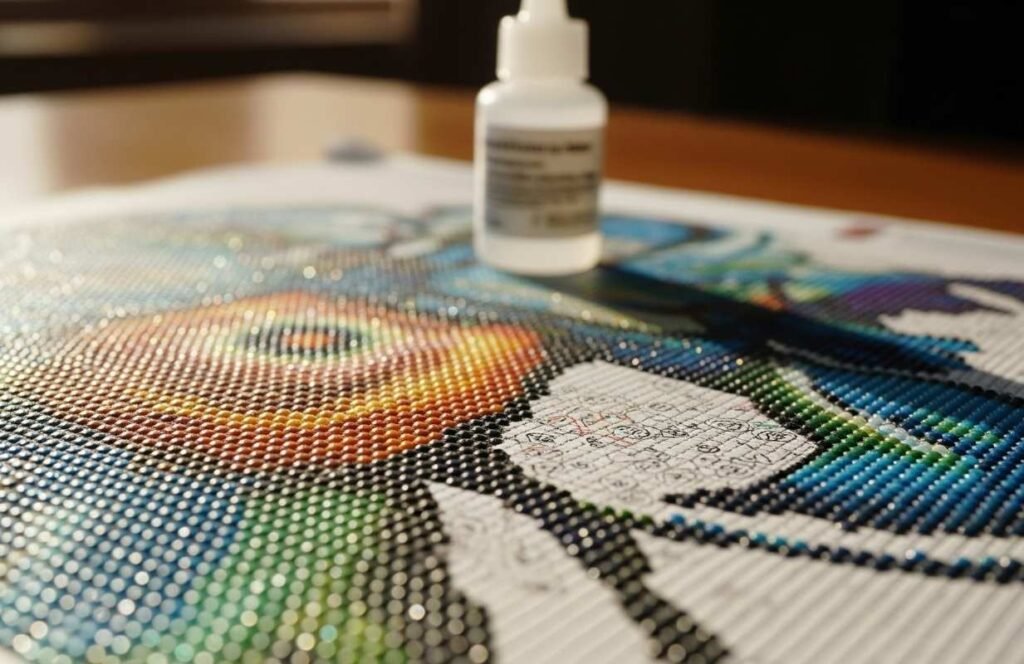
Step 2: Choose Your Sealant
When people ask Does Mod Podge seal diamond painting? the answer is yes. Mod Podge and similar clear sealants are popular choices. Some crafters also use clear gloss varnish or spray sealants.
Each option has slightly different results, but the goal is the same: keep diamonds secure and the artwork protected.
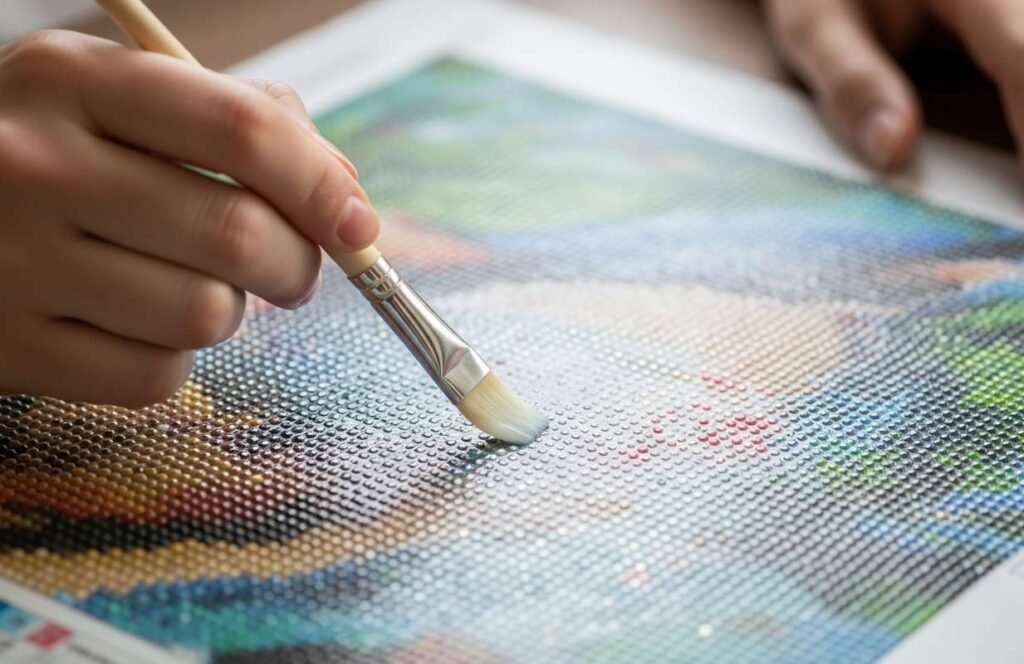
Step 3: Apply the Sealant
Dip a soft brush into your sealant and spread it gently across the canvas. Work in one direction, covering the surface evenly. The sealant may look white at first, but it dries clear.
If you’re using a spray sealant, hold the can about 6–8 inches away. Spray in light layers rather than one heavy coat. This prevents clumps and helps the finish look smooth.
Step 4: Let It Dry
Sealers need time to dry fully. Depending on what you use, this can take 24–48 hours. During this time, keep the canvas flat and away from dust, pets, or moisture.
Step 5: Add a Second Coat (Optional)
If you want extra protection, apply a second thin coat after the first one dries. This isn’t always necessary, but it can add durability and enhance the finish.
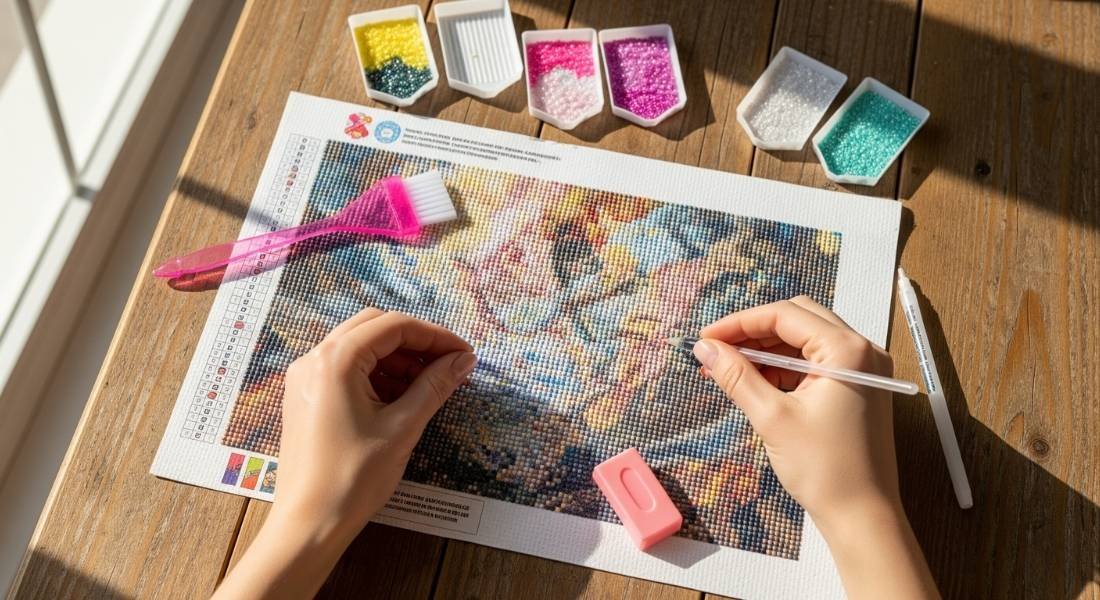
How to Protect Diamond Painting While Working on It
Sealing comes at the end, but keeping your project safe while working is just as important. Here are a few tips:
- Cover unused areas: Use the clear plastic sheet that comes with the kit or parchment paper to keep dust away from sticky parts.
- Work in small sections: Peel back the cover bit by bit instead of exposing the whole canvas.
- Keep it clean: Wash your hands before handling diamonds to avoid oils sticking to the canvas.
- Avoid spills: Store your drills in small containers with lids so they don’t scatter.
- Flat surface: Always work on a flat, stable table to keep diamonds aligned properly.
Taking these steps helps ensure the final sealing process goes smoothly.
Benefits of Sealing Paint With Diamonds
To sum it up, sealing your artwork offers several long-term benefits:
- Longer life span for your masterpiece.
- Diamonds stay bright and secure.
- Canvas remains flat and firm.
- Easier to clean and dust off.
- Peace of mind that your work is safe.
These benefits make sealing a small but powerful step in the diamond painting process.
Conclusion
Learning how to seal paint with diamonds is essential for anyone who wants their diamond art to last. With just a little extra effort, you can protect your work, keep it dust-free, and lock in that sparkle.
Remember, the key is preparation, careful application, and patience while drying. Whether you use a brush-on sealer or a spray, your masterpiece will stay secure and beautiful for years.
FAQs
What do you use to seal diamond painting?
Most people use Mod Podge, clear gloss varnish, or spray sealants. These products lock diamonds in place and protect the canvas.
Does Mod Podge seal diamond painting?
Yes, Mod Podge is one of the most popular choices. It dries clear, holds the diamonds securely, and adds a smooth finish.
Can you use hairspray to seal diamond painting?
Hairspray is not recommended. It may hold temporarily, but it does not provide long-lasting protection like proper sealants.
How to protect diamond painting while working on it?
Cover unused areas with plastic or parchment paper, work in small sections, and store diamonds in containers to avoid spills.
How long does it take to seal a diamond painting?
Applying the sealant only takes a few minutes, but drying can take 24 or 48 hours depending on the type of sealer.
Do all diamond paintings need sealing?
Not always. Some high-quality kits have strong adhesive, but sealing is still recommended for extra durability and dust protection.

 By
By
 By
By


 By
By