Light can make or break an image. When used with intention cinematic glow turns ordinary photos into emotionally powerful visuals but when misused it instantly feels artificial. Many creators struggle to control this balance without sacrificing realism.
This article explores how Photeeq Lens Flare helps photographers add cinematic light with precision explaining the science, creative logic and professional techniques behind believable flare effects. Explain in Everytalkin.
If you want your images to look intentionally polished and visually cinematic not over edited this guide will show you why mastering light is the key to stronger visual storytelling.
Science Behind the Glow: What Is Photeeq Lens Flare?
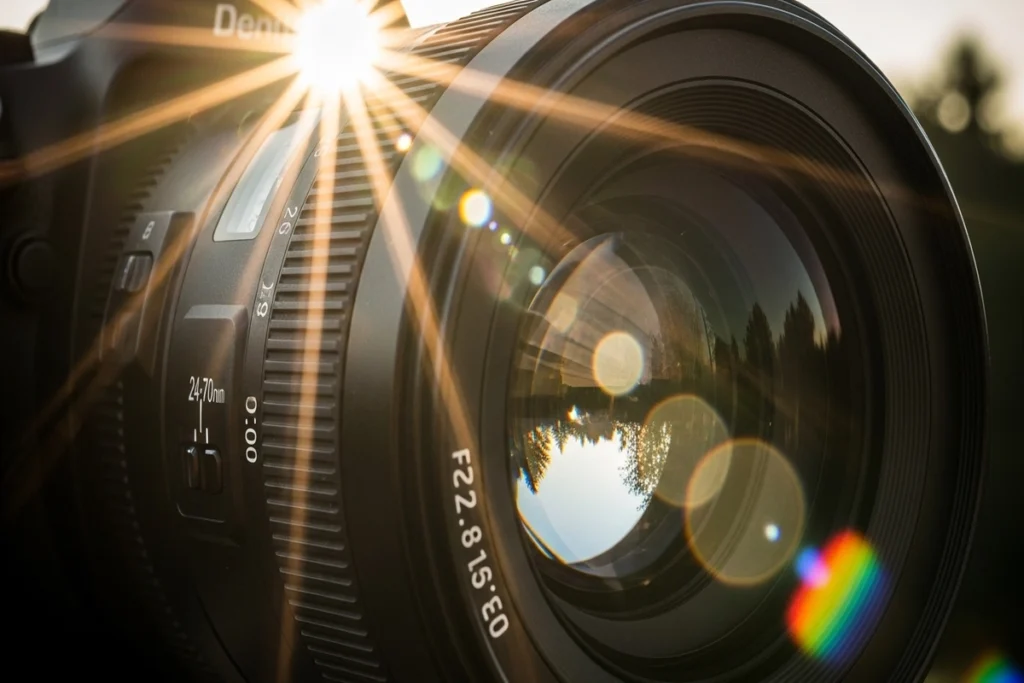
Lens flare happens when strong light enters a lens and scatters due to internal reflections. Once seen as a flaw it is now embraced for its emotional and cinematic impact.
Its shape intensity and placement depend on lens construction, aperture focal length and light angle. Circular ghost streaks, haze and rainbow patterns are natural optical byproducts.
Digital tools like Photeeq Lens Flare replicate this behavior letting creators control direction intensity , color and placement while keeping the effect realistic a perfect balance of precision and authenticity.
Why Photeeq Lens Flare Is a Game Changer for Modern Photographers?
Capturing lens flare traditionally required exact lighting and angles often producing inconsistent results. Digital tools like Photeeq Lens Flare remove these limits letting creators enhance images in post processing with full control.
This not only ensures consistency across multiple shots but also gives photographers creative freedom to guide attention, highlight light sources or add warmth turning flare from an accident into a storytelling device.
Efficiency improves too: less time chasing perfect conditions more focus on composition subject and narrative with effects that are precise and fully reversible.
Key Features That Make Photeeq Lens Flare Different
- Realistic Light Refraction: Simulates how light scatters and reflects inside a lens for natural looking flares.
- Customizable Colors & Intensity: Adjust hue brightness and spread to match any lighting scenario.
- Flexible Direction Control: Position flares precisely to enhance mood and guide viewer focus.
- Non Destructive Editing: Layer based workflow allows changes without altering the original image.
- Dynamic Response to Highlights: Automatically interacts with bright areas for seamless integration.
- Professional Workflow Integration: Compatible with Photoshop Lightroom and other editing tools.
- Consistency Across Images: Ensures uniform lighting effects for series campaigns or portfolios.
- Creative Freedom: Adds cinematic dreamy or ethereal looks while maintaining realism.
Creative Ways to Use Photeeq Lens Flare in Different Photography Genres
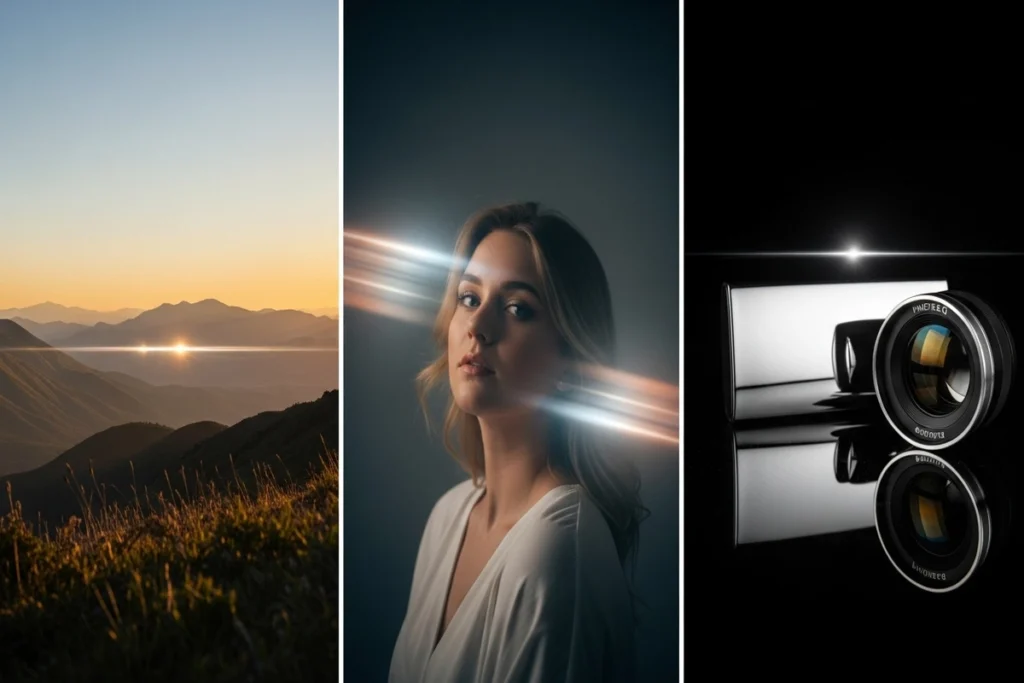
Lens flare can dramatically change the mood of your photos when used thoughtfully. Different genres benefit in unique ways from landscapes to portraits and product shots.
Landscape Photography
Soft flares enhance sunrise or sunset scenes adding warmth, depth and realism. Placing them near the horizon or behind natural elements guides the viewer’s eye without distracting from the scene.
Portrait Photography
A gentle haze or light streak adds emotion and intimacy. Carefully positioned flare frames the subject separates them from the background and softens highlights while preserving skin tones.
Product Photography
Strategic flares elevate perceived value, highlight form and enhance reflective surfaces. Ideal for technology, fashion and lifestyle products they add a professional luxury touch without obscuring details.
How to Apply Photeeq Lens Flare in Post Processing?
Applying lens flare effectively requires both precision and subtlety. Following a structured workflow ensures the effect enhances your image without looking artificial.
- Use a Separate Layer: Place flare effects on their own layer above the base image for independent control.
- Position Near Light Sources: Align flares with existing lights to maintain realism; avoid arbitrary placement.
- Choose the Right Blending Mode: Use Screen or Lighten to integrate flare naturally and preserve highlights.
- Adjust Opacity Gradually: Subtlety is key enhance without overpowering the image.
- Follow Scene Light Logic: Ensure shadows highlights and reflections match the flare’s direction.
- Zoom Out Often: Check the full image to avoid exaggerated effects that look unnatural up close.
- Compare Before & After: Make sure the flare enhances storytelling rather than distracting from it.
- Use the “First Impression” Rule: If the flare is the first thing viewers notice it’s probably too strong.
Does Photeeq Lens Flare Look Realistic?
Realism depends on intention and execution. When applied with respect to optical principles digital flare can be indistinguishable from natural lens behavior.
Many professionals integrate it seamlessly into editorial shoots, cinematic composites and commercial campaigns. The key lies in matching environmental context.
Light temperature source intensity and scene geometry must align. When these elements work together flare becomes part of the image’s visual language rather than an artificial addition.
Photeeq Lens Flare vs Traditional Lens Flare
Digital tools like Photeeq Lens Flare offer precision and consistency that traditional optical flares often lack. Comparing the two helps photographers understand the advantages of controlled professional light effects over chance based on camera flare.
Creative Control & Flexibility
Traditional flare relies on chance. Digital solutions provide precision. This control empowers creators to refine their vision instead of adapting to unpredictable outcomes.
Time Efficiency & Workflow Speed
Capturing the perfect flare in camera can take hours. Digital application reduces this process to minutes improving productivity without compromising quality.
Consistency Across Multiple Images
Commercial projects demand uniformity. Digital flare ensures consistent lighting aesthetics across series campaigns or brand assets something optical flare cannot guarantee.
The Dos and Don’ts of Using Lens Flare
Using lens flare effectively requires subtlety and attention to detail. Follow these guidelines to enhance your photos without making them look artificial.
Dos:
- Anchor Flare to a Light Source: Always align the effect with visible or implied lights in the scene.
- Maintain Subtlety: Use low opacity and small intensity to keep the effect natural.
- Match Color Temperature: Ensure the flare’s hue complements the existing lighting.
- Experiment on a Separate Layer: Keep edits non destructive so you can adjust or remove the effect anytime.
- Check the Full Image: Zoom out to ensure the flare enhances without overpowering.
Don’ts:
- Avoid Overuse: Excessive flares distract from the subject and reduce image quality.
- Don’t Ignore Shadows & Highlights: Misaligned flare breaks the scene’s realism.
- Avoid Arbitrary Placement: Random positioning makes the effect feel fake.
- Don’t Rely on a Single Look: Adjust for each image one setting doesn’t fit all scenarios.
- Avoid Too Bright or Dominant Effects: If the flare draws attention before the subject it’s too strong.
Conclusion
Lens flare is no longer a technical flaw, it is a creative decision. When used with purpose it enhances storytelling emotion and realism.
Digital flare tools offer photographers the freedom to shape light intentionally while maintaining professional standards.
Rather than replacing traditional techniques they complement modern workflows by adding flexibility, efficiency and creative precision.
FAQs
Is Photeeq lens flare free to use?
Availability depends on the version and licensing model. Some features may require a paid package for commercial use.
Does lens flare reduce image quality?
When applied correctly using non destructive workflows image clarity and resolution remain unaffected.
How can I remove or fix unwanted lens flare?
Reducing opacity, adjusting blending modes or masking specific areas usually resolves excessive artifacts.
 By
By
 By
By

 By
By