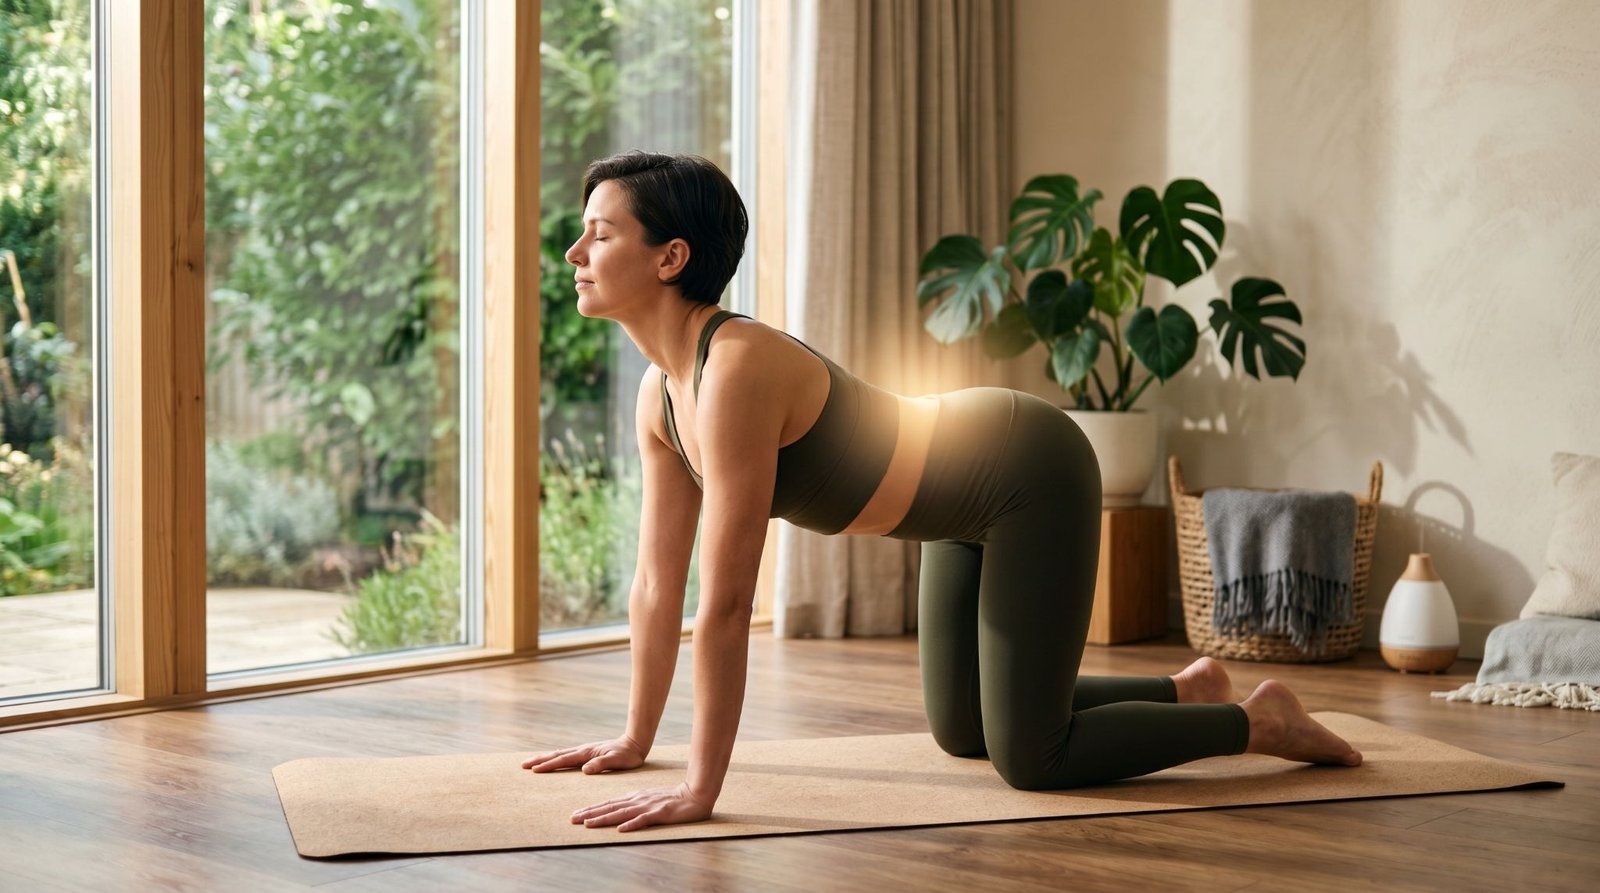

If you’re experiencing back pain, yoga can be a helpful and natural way to manage it. As a mind-body practice, it not only targets physical discomfort but also reduces the stress that often comes with it. The right poses can relax and strengthen your body.
Even a few minutes of daily yoga can improve body awareness, helping you recognize areas of tension and imbalance. With this awareness, you can gradually improve posture, alignment, and overall balance.
Read on to discover how these poses may support relief from back pain.
Medical Disclaimer: Always consult your doctor before starting any new exercise routine, especially if you have a spinal condition, herniated disc, or severe chronic pain.
Tips Before You Begin
- Start slow. Begin with 10–15 minutes, three to four times per week. Consistency matters more than duration.
- Find a qualified teacher. Look for instructors experienced in pain management or yoga therapy and inform them about your condition.
- Mild stretch is normal. Sharp pain is not. Productive muscle tension is expected, but shooting or worsening pain means stop immediately.
- Always warm up first. Begin with Cat Cow and Child’s Pose before deeper stretches.
- Most poses are modifiable. If something hurts, reduce range of motion or use listed modifications.
The 12 Best Yoga Poses for Back Pain
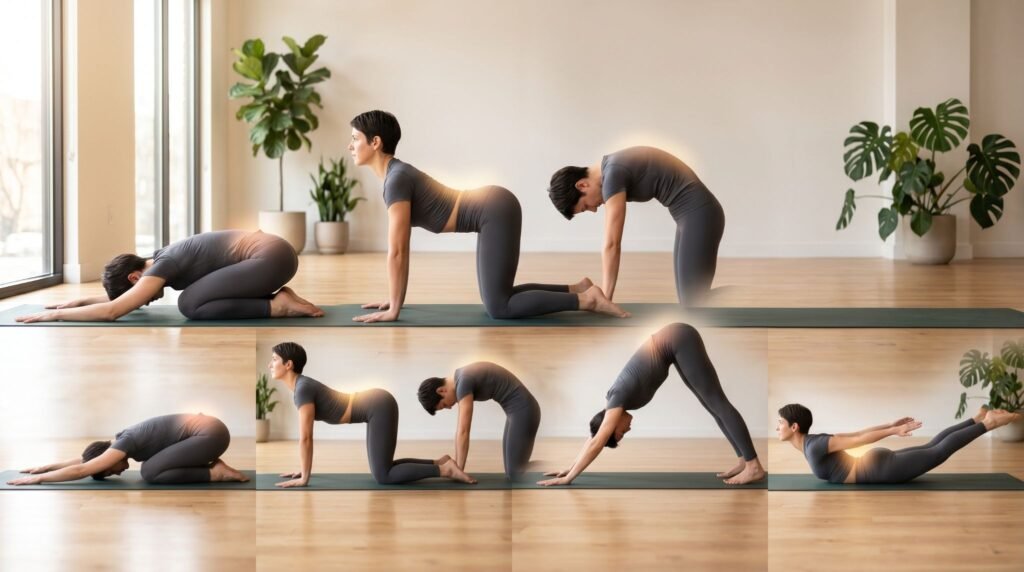
1. Cat Cow Pose (Marjaryasana Bitilasana)
Best warm-up for a stiff spine. This flow lubricates spinal discs, mobilizes vertebrae, and activates paraspinal muscles.
Muscles worked: Erector spinae, rectus abdominis, gluteus maximus, neck extensors
How to do it:
- Come to the tabletop (hands under shoulders, knees under hips).
- Cow: Inhale, belly drops, chest lifts, gaze up.
- Cat: Exhale, round spine, tuck tailbone, chin to chest.
- Repeat 10 slow rounds with breath.
Modification: Use fists or wedges if wrists hurt.
2. Child’s Pose (Balasana)
A gentle spinal traction pose that relaxes the nervous system and relieves lower back tension.
Muscles worked: Glutes, hamstrings, spinal extensors, hip rotators
How to do it:
- Kneel, big toes touching, knees together or wide.
- Sit back on heels, reach arms forward, forehead down.
- Hold 1–5 minutes, breathe deeply.
Modification: Use a blanket between thighs and calves if needed.
3. Bridge Pose (Setu Bandha Sarvangasana)
One of the most efficient yoga poses for simultaneously strengthening the glutes, hamstrings and lower back. Weak glutes are a frequently overlooked cause of chronic low back pain.
Muscles worked: Glutes, hamstrings, erector spinae, transverse abdominis
How to do it:
- Lie on back, knees bent, feet hip-width apart.
- Inhale, lift hips, squeeze glutes.
- Hold 30–60 seconds, lower slowly.
- Repeat 2–3 times.
Modification: Use block under sacrum for support.
4. Sphinx Pose (Salamba Bhujangasana)
A gentle lumbar extension that directly counteracts the rounded forward posture most people maintain for hours at a desk. It strengthens the spinal extensors while opening the chest and abdomen.
Muscles worked: Erector spinae gluteal muscles trapezius latissimus dorsi pectoralis major
How to do it:
- Lie on your stomach, legs extended, feet hip width apart.
- Engage your lower back glutes and thighs before lifting.
- Bring elbows under shoulders, forearms flat on the floor, palms facing down.
- Inhale and slowly lift your upper torso and head leading with the crown of your head rather than your chin.
- Keep your gaze forward. Hold for 1–5 minutes.
Modification: Move your elbows slightly forward of your shoulders to reduce lumbar intensity.
5. Cobra Pose (Bhujangasana)
A progressive backbend that strengthens the entire posterior spinal chain and counteracts disc compression from prolonged forward flexion throughout the day.
Muscles worked: Erector spinae, glutes, shoulders, triceps
- How to do it:
- Lie on stomach, hands under ribs.
- Press feet down, lift chest slowly.
- Hold 15–30 seconds, repeat 2–3 times.
Modification: Baby Cobra (lifting only 2–3 inches) is safest for beginners and anyone with disc issues.
6. Locust Pose (Salabhasana)
The most underrated back strengthening pose in yoga. Unlike Cobra, Locust is pure posterior chain work with zero arm support making it exceptionally effective for building lasting spinal strength.
Muscles worked: Erector spinae trapezius gluteus maximus hamstrings rhomboids
How to do it:
- Lie on your stomach arms alongside torso palms up big toes touching
- Gently engage abdominals for spinal protection
- Inhale lift head chest arms and legs simultaneously
- Lead with your heart lengthen from crown to heels
- Hold 30–60 seconds; repeat 2–3 times
Modification: Lift only the upper body OR only the legs until you build enough posterior chain strength for both.
7. Downward Facing Dog (Adho Mukha Svanasana)
This full body traction pose decompresses the lumbar spine, stretches the hamstrings (a major hidden driver of low back pain) and strengthens the core and upper body all in one shape.
Muscles worked: Hamstrings gluteus maximus deltoids quadriceps erector spinae
How to do it:
- Start tabletop, lift hips back and up.
- Keep knees bent if needed.
- Hold 5–10 breaths.
Modification: Perform the pose with hands on a wall at 90° for a gentler fully weight supported alternative.
8. Extended Triangle Pose (Utthita Trikonasana)
A lateral stretch that targets the side body IT band and outer hip muscles all of which directly affect lumbar strain. Particularly effective for sciatica and hip related back pain.
Muscles worked: Latissimus dorsi obliques gluteus maximus and medius hamstrings quadriceps
How to do it:
- Feet wide apart, extend arms.
- Reach forward and down to shin or block.
- Hold 30–60 seconds each side.
Modification: Use a yoga block under your bottom hand to keep your spine long and avoid collapsing into the lower back.
9. Two Knee Spinal Twist (Supta Matsyendrasana)
A deeply restorative supine twist that releases paraspinal muscle tension promotes spinal mobility and stretches the outer hips and thoracic spine with gravity doing all the work for you.
Muscles worked: Erector spinae transverse abdominis trapezius pectoralis major piriformis
How to do it:
- Lie on your back, knees to chest.
- Drop knees to one side, gaze opposite.
- Hold 30 seconds–2 minutes.
Modification: Place a folded blanket or pillow under your knees if they don’t comfortably reach the floor.
10. Pigeon Pose (Eka Pada Rajakapotasana)
Tight piriformis and hip flexors are common causes of low back pain and sciatica. Pigeon Pose effectively releases deep hip rotators that contribute to lumbar strain.
Muscles worked: Piriformis psoas iliacus gluteus medius and minimus TFL
How to do it:
- From Down Dog, bring one knee forward.
- Extend opposite leg back.
- Stay upright or fold forward.
- Hold 1–2 minutes per side.
Modification: Reclined Pigeon (lying on your back with ankle resting on opposite thigh) delivers equal hip opening benefit with significantly less joint stress.
11. Half Lord of the Fishes (Ardha Matsyendrasana)
Why it works: Spinal rotation is essential for back health but often neglected. This seated twist energizes the spine massages intervertebral discs, stretches paraspinal muscles and hips and helps relieve tension causing back pain.
Muscles worked: Erector spinae rhomboids serratus anterior psoas pectoralis major external obliques
How to do it:
- Sit with legs extended
- Bend right knee place foot outside left thigh
- Bend left knee toward right hip (or keep straight)
- Sit tall on sitting bones (use support if needed)
- Inhale: lengthen spine
- Exhale: twist right left elbow outside right knee
- Right hand behind for support
- Inhale: grow taller exhale: deepen twist
- Hold 30–60 sec repeat other side
Modification: Keep both legs extended if the seated position is uncomfortable for your knees.
12. Seated Figure Four Pose
Why it works: A simple seated variation of Pigeon Pose that opens the outer hips and piriformis ideal for desk workers with tight hips.
Muscles worked: Piriformis gluteus medius and minimus iliotibial band hip flexors
How to do it:
- Sit upright (chair or floor)
- Place right ankle over left knee
- Keep shin parallel
- Sit tall lean forward from hips
- Feel stretch in outer hip/glute
- Hold 30–60 sec repeat other side
Modification: Keep your torso fully upright if leaning forward is too intense.
Tip: Press your right knee gently downward to increase the stretch in the outer hip.
How to Build a Back Pain Yoga Routine ?
Beginner Routine (10–15 minutes)
Perform 3–4 days per week:
- Cat Cow × 10 rounds
- Child’s Pose × 2–3 minutes
- Sphinx Pose × 2 minutes
- Bridge Pose × 3 repetitions (30 seconds each)
- Two Knee Spinal Twist × 1 minute per side
Intermediate Routine (20–30 minutes)
Perform 4–5 days per week:
- Cat Cow × 10 rounds (warm up)
- Downward Facing Dog × 5 breaths × 3 repetitions
- Cobra Pose × 3 repetitions
- Locust Pose × 3 repetitions
- Extended Triangle × 1 minute per side
- Pigeon Pose × 1–2 minutes per side
- Half Lord of the Fishes × 1 minute per side
- Child’s Pose (cool down) × 3 minutes
General Guidelines:
- Frequency: Aim for at least 3 sessions per week for meaningful results. Daily practice is ideal but even 10 minutes is beneficial.
- Duration: Results from research typically appeared after 4–12 weeks of consistent practice.
- Progression: Start with Beginner poses exclusively for 2–4 weeks before adding Intermediate poses.
- Pain Rule: Mild muscle fatigue and a feeling of stretch are normal. Sharp shooting or radiating pain is not stopped immediately if you experience this.
The Bottom Line
Yoga is a safe, effective, and holistic way to manage back pain. These 12 poses strengthen, stretch, and restore spinal balance while improving mobility and reducing tension.
Start with beginner poses, stay consistent, and be patient. Most people notice improvement within 4–8 weeks. Your spine can heal give it the right support.
FAQs
Can beginners with no yoga experience try these back pain poses?
Yes, most of these poses are beginner-friendly and can be modified. Starting with gentle movements like Cat Cow, Child’s Pose and Bridge Pose is usually safest for complete beginners.
How quickly can yoga help reduce back pain?
Results vary, but many people start noticing improvement in mobility and pain levels within 4–8 weeks of consistent practice. Regularity matters more than long sessions.
Is it safe to do yoga if I have a herniated disc or sciatica?
It depends on the severity of your condition. Some poses may help, but others could worsen symptoms. It’s important to consult a healthcare professional or yoga therapist before starting.
Should I do these poses every day for best results?
Daily practice can be helpful, but it’s not required. Even 3–5 sessions per week can provide noticeable benefits if done consistently with proper form and rest when needed.


 By
By

 By
By